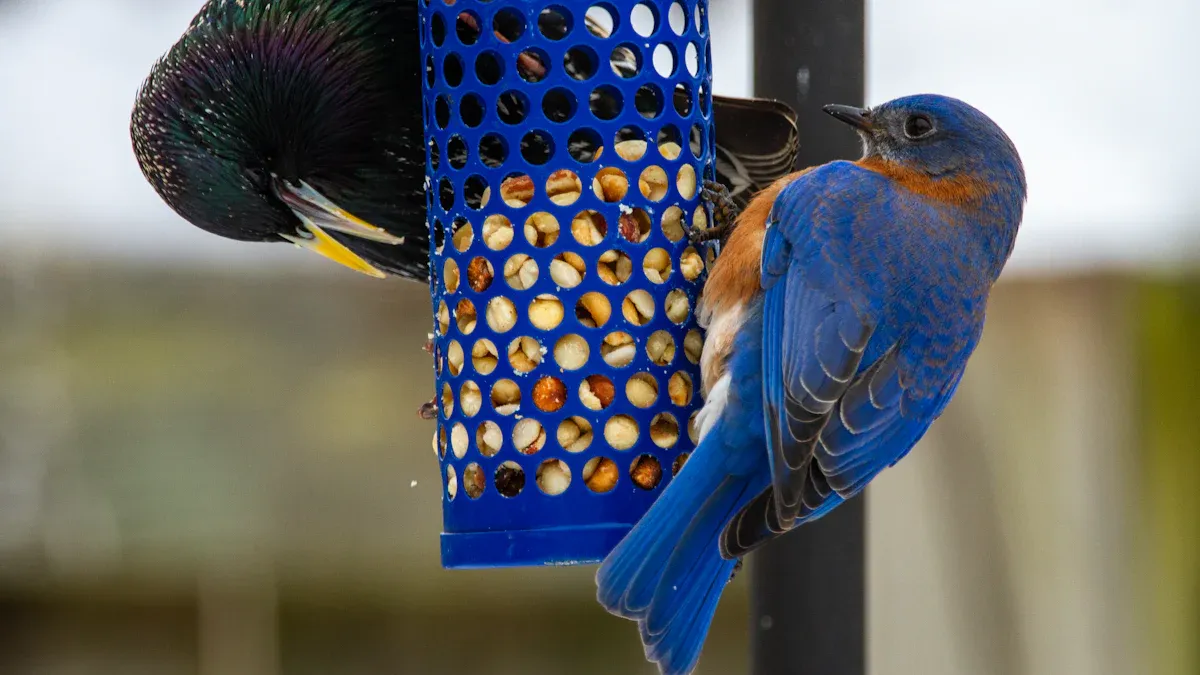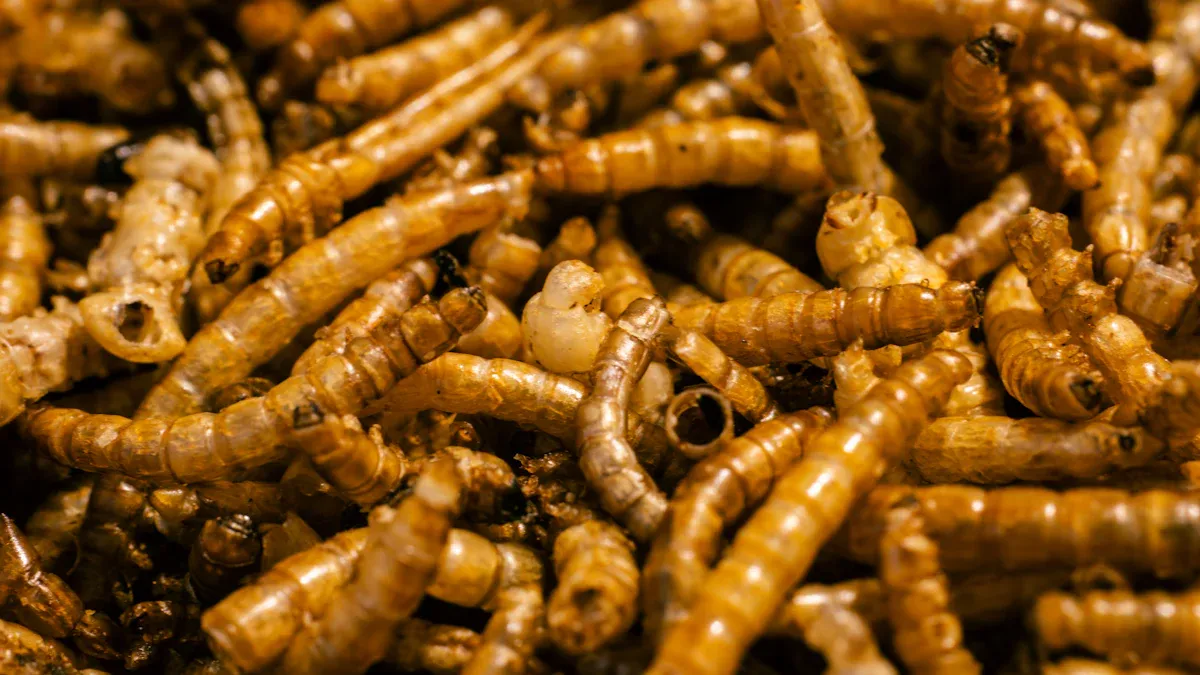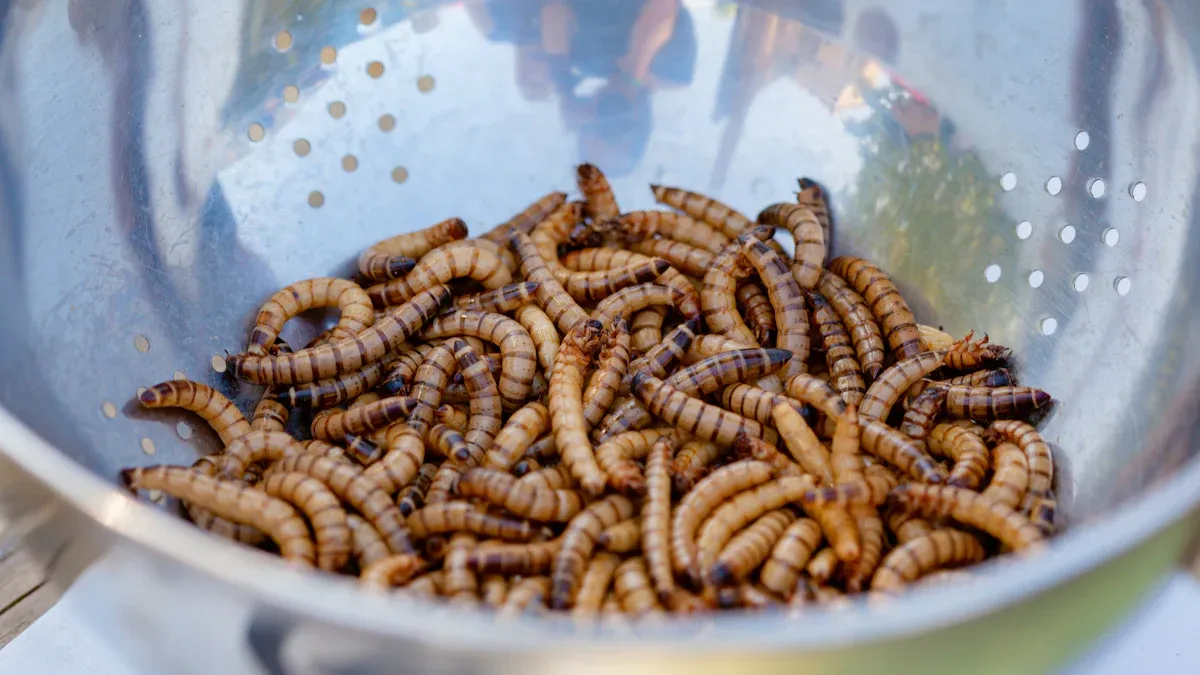
Feeding birds mealworms is a win-win for you and your feathered visitors. Mealworms are packed with protein, fat, and essential nutrients that help birds thrive, especially during breeding or harsh weather. Studies even show that supplementing birds’ diets with mealworms boosts chick survival rates in urban areas where insects are scarce. Plus, starting a mealworm farm is surprisingly easy. With the right setup, mealworms grow quickly—most are ready to harvest in just three months under optimal conditions. It’s a cost-effective way to keep your backyard birds happy and healthy year-round.
キーテイクアウト
- Mealworms are healthy food for birds, especially in breeding times or when bugs are hard to find.
- Starting a mealworm farm is simple and cheap. You only need a small space, a container, and bedding.
- Keeping the right heat and moisture helps mealworms grow well. Keep the temperature at 77-80°F and humidity at 65-70%.
Understanding Birds Mealworms and Their Life Cycle
What are mealworms, and why are they ideal for birds?
Mealworms are the larval stage of the mealworm beetle, scientifically known as Tenebrio molitor. These little critters are a favorite among many bird species because they’re packed with protein and easy to digest. Birds, especially during breeding seasons or in urban areas where natural insects are scarce, benefit greatly from this nutritious food source. Studies have shown that supplementing bird diets with mealworms improves chick survival rates in species like house sparrows and great tits.
Mealworms are also practical for you to raise. They grow quickly, require minimal space, and can be produced in large quantities. This makes them an affordable and sustainable option for feeding your backyard birds.
The life cycle of mealworms: egg, larva, pupa, beetle
Mealworms go through four distinct stages in their life cycle:
| Stage | Time (days) |
|---|---|
| Egg Incubation | 4-19 (average 12) |
| Larva | 10 weeks |
| Pupa | 6-18 |
| Beetle and Egg Laying | 8-12 weeks |
Female beetles lay around 300 eggs, which hatch into larvae (mealworms) after about 4-20 days. The larvae grow for about three months, shedding their skin multiple times before turning into pupae. After 1-2 weeks, the pupae transform into adult beetles, which start the cycle again.
How understanding the life cycle helps in raising mealworms
Knowing the life cycle of mealworms is key to successfully raising them. For example, understanding that larvae take about 10 weeks to mature helps you plan your harvesting schedule. You’ll also know when to separate beetles from the larvae to prevent overcrowding and ensure optimal growth.
Here are some important insights:
- Mealworms thrive in specific conditions, like moderate humidity and temperatures between 70-80°F.
- Beetles lay eggs in the substrate, so keeping it clean and dry prevents mold and pests.
- Timing your care practices with each stage of the life cycle improves efficiency and reduces waste.
By understanding these stages, you can create a healthy and productive mealworm farm that provides a steady supply of food for your birds.
Setting Up a Mealworm Farm for Birds

Essential materials: containers, substrate, and tools
Starting your mealworm farm doesn’t require fancy equipment. You’ll need a container, substrate, and a few basic tools. A plastic or glass container works best. Choose one that’s at least 5 inches deep and wide enough to give your mealworms plenty of space. If you’re using a lid, make sure it has ventilation holes or a mesh cover to prevent mold buildup.
For the substrate, wheat bran or plain oatmeal is ideal. These materials serve as both bedding and food for your mealworms. Organic options are better since they’re free from harmful chemicals. To keep your mealworms hydrated, add slices of potato or carrot. These provide moisture without the risk of drowning your mealworms.
You’ll also need a few tools to set up your farm. A drill can help you create ventilation holes, and duct tape is handy for securing any loose parts. With these simple materials, you’re ready to get started!
Choosing the best location for your mealworm farm
Mealworms thrive in warm, slightly humid environments. Aim for a temperature between 77-80°F and humidity levels around 65-70%. If your home is too dry, an ultrasonic humidifier can help maintain the right conditions.
Pick a spot that’s dark or dimly lit. Mealworms prefer darkness, but if you don’t have a dark area, you can cover the container with a dark sheet. Avoid placing your farm near windows or vents, as extreme heat or cold can harm your mealworms. A quiet corner in a pantry or closet often works well.
Preparing the substrate and creating the right environment
The substrate is more than just bedding—it’s the foundation of your mealworm farm. Wheat bran or oatmeal provides the nutrients mealworms need to grow. Spread a 1-2 inch layer of substrate in your container. Add slices of potato or carrot for hydration, but avoid overloading the container with moisture.
Keep the temperature steady at around 77-80°F. If your room is cooler, consider using a small heat mat under the container. Humidity should stay between 65-70%. Too much moisture can lead to mold, while dry conditions can slow growth. With the right setup, your mealworms will thrive and provide a nutritious food source for your birds.
Maintaining a Healthy Mealworm Farm
Feeding mealworms: what to feed and how often
Mealworms thrive on a simple but nutritious diet. You can use wheat bran, rolled oats, or cornmeal as their primary food source. These options are affordable and easy to find. For added protein, sprinkle in ground dry dog or cat food or non-medicated chick starter. Moisture is just as important. Add slices of raw potato, apple, or cabbage to keep your mealworms hydrated. Avoid overloading the container with wet foods, as too much moisture can lead to mold.
Feed your mealworms every 1-2 weeks, depending on how quickly they consume their food. A good rule of thumb is to check the substrate regularly. If it looks thin or depleted, it’s time to add more. Keeping your mealworms well-fed ensures they grow quickly and stay healthy, providing a nutrient-rich food source for your birds.
ヒント: Beetles lay more eggs when humidity is around 70%, so maintaining this level can boost your farm’s productivity.
Cleaning and preventing mold or pests in the farm
A clean farm is a healthy farm. Regularly sift through the substrate to remove waste and dead mealworms. This prevents the buildup of harmful bacteria. If you notice mold, act quickly. Remove the affected substrate, air out the container, and replace it with fresh bedding. To prevent mold in the first place, ensure good ventilation and avoid overly wet foods.
Pests like grain mites can also invade your farm. To keep them at bay, store your substrate in a dry, sealed container before use. Probiotics and immune-boosting techniques have been shown to reduce infections in mealworm populations, keeping them strong and pest-free.
Monitoring temperature and humidity for optimal growth
Mealworms grow best in warm, humid conditions. Keep the temperature between 77-80°F and the humidity around 65-70%. Use a thermometer and hygrometer to monitor these levels. If your room is too dry, place a small humidifier nearby. For colder spaces, a heat mat under the container can help maintain the right temperature.
Extreme conditions can harm your mealworms. Temperatures above 86°F or below 62°F slow their growth and increase mortality rates. Dry air can also lead to dehydration, especially for young larvae. By maintaining the ideal environment, you’ll ensure your mealworms grow quickly and stay healthy, ready to feed your birds mealworms whenever they need a boost.
Harvesting and Storing Birds Mealworms
Identifying when mealworms are ready for harvesting
Knowing when to harvest your mealworms is crucial for getting the most out of your farm. Mealworms typically take 3-4 months to reach full size, depending on the temperature and humidity. You’ll know they’re ready when they appear plump and golden-brown, measuring about an inch long. If you wait too long, they’ll start transitioning into pupae and eventually beetles, which aren’t ideal for feeding birds.
Keep an eye on the conditions in your farm. Mealworms grow best at temperatures between 25°C–27.5°C (77°F–81°F) and moderate humidity levels of around 70%. These conditions ensure they develop fully within 80-84 days. Regularly check your farm to spot the largest larvae, as they’re the best candidates for harvesting.
Effective methods for harvesting mealworms
Harvesting mealworms is simple with the right tools. Use a shallow plastic container with a screen lid for air circulation. To separate the mealworms from their substrate, sift the contents of your farm using a fine mesh strainer. The mealworms will remain in the strainer while the frass (waste) and smaller particles fall through.
Another method involves placing slices of apple or potato in the container. Mealworms will gather around the moisture, making it easy to scoop them out. Once harvested, you can refrigerate them to slow their growth until you’re ready to feed them to your birds.
ヒント: Always clean your tools and containers after harvesting to prevent contamination or pest issues.
Storing mealworms for short-term and long-term use
Proper storage keeps your mealworms fresh and nutritious for your birds. For short-term storage, place them in a closed container in the refrigerator at 38°F. This keeps them semi-dormant, preventing pupation and extending their usability for several months.
For long-term storage, consider freeze-drying or freeze-roasting your mealworms. Freeze-dried mealworms don’t require refrigeration and can last over a year. They’re an excellent option if you want a ready supply of birds mealworms without the hassle of frequent harvesting.
| Storage Technique | コンテンツ | Usability Duration |
|---|---|---|
| Refrigeration | Mealworms stored at 38°F remain semi-dormant and do not pupate. | Months |
| Freeze Roasting | Freeze-dried mealworms last over a year without refrigeration. | More than a year |
By storing your mealworms properly, you’ll always have a nutritious treat ready for your feathered friends.
Feeding Birds with Mealworms

Preparing mealworms for bird feeding
Before offering mealworms to your feathered friends, you need to prepare them properly. Start by ensuring they’ve been raised in a clean substrate like wheat bran or rolled oats. This substrate doubles as bedding and food, keeping the mealworms healthy. Add moisture-rich foods like carrots or apple slices to hydrate them. Maintain an environment with a temperature of 72-81°F and humidity between 55-80% to ensure the mealworms are in their best condition.
Mealworms are most nutritious in their larval stage, which they reach after about 3-4 months. At this point, they contain approximately 18% protein, 14% fat, and 64% moisture, making them an excellent supplemental food for birds. Once ready, you can offer them live or freeze-dried, depending on your preference and the birds’ needs.
Recommended serving sizes for different bird species
When feeding birds mealworms, moderation is key. Mealworms should be a treat, not the main course. For most backyard birds, offering around 100 mealworms daily is a good starting point. This amount provides a protein boost without overloading their diet.
Keep in mind that overfeeding can lead to health issues, especially for young birds. Always observe how much your birds consume and adjust the serving size accordingly. Remember, mealworms are a supplement, not a replacement for their natural diet.
Best feeder types for serving mealworms to birds
Choosing the right feeder ensures your mealworms stay put and attract the most birds. Platform feeders or rimmed dishes work well because they prevent the mealworms from escaping. Place the feeder near vegetation or trees to make birds feel safe while feeding. Avoid positioning it near windows to reduce the risk of collisions.
If you’re offering live mealworms, consider a feeder with smooth sides to keep them contained. For freeze-dried mealworms, any standard bird feeder will do. By selecting the right feeder, you’ll make it easier for birds to enjoy their nutritious treat.
Troubleshooting Issues in Raising Mealworms
Addressing mold in the substrate
Mold is one of the most common problems in mealworm farming, but it’s easy to prevent with the right steps. Mold thrives in damp, poorly ventilated environments. To keep it at bay, ensure your container has plenty of ventilation. Add small holes to the lid or sides to improve airflow. Avoid overloading the farm with moisture-rich foods like potatoes or carrots. Remove these items after 24 hours to prevent excess humidity.
If you spot mold, don’t panic. Remove the affected substrate immediately and clean the container with a diluted bleach solution. Let it dry completely before adding fresh bedding. Maintaining humidity levels between 65-70% also helps prevent mold from forming. A hygrometer can help you monitor this.
ヒント: If you notice condensation inside the container, it’s a sign of poor ventilation. Add more holes or air out the container to fix the issue.
Managing grain mites and other pests
Grain mites can quickly take over your mealworm farm if conditions aren’t ideal. These pests love high humidity and poor airflow. To prevent them, keep the humidity below 70% and ensure good ventilation. If you already have an infestation, reduce the humidity to below 50% and thoroughly clean the container. Replace the substrate and wipe down all surfaces.
Extreme temperatures can also help control mites. Studies show that exposing them to 40°C (104°F) for 35 minutes or freezing them at -10°C (14°F) for 12-14 days effectively kills their eggs. However, these methods are best used on empty containers or unused substrate.
| Temperature (°C) | Duration | Effect on Grain Mite Eggs |
|---|---|---|
| 40 | 35 minutes | Kills eggs |
| -10 | 12-14 days | Kills eggs |
お問い合わせ: Always store your substrate in a sealed, dry container to prevent pests from entering.
What to do if mealworms are not thriving
If your mealworms aren’t growing well, check their environment first. They thrive in temperatures between 77-80°F and humidity levels of 65-70%. If it’s too dry, place a shallow dish of water with a sponge near the substrate to increase humidity. Make sure the container has proper ventilation to avoid mold or pests.
Mealworms also need a nutritious diet to grow. Ensure their substrate is fresh and add moisture-rich foods like carrots or apples in small amounts. If you’ve done all this and they’re still struggling, it might be time to replace the substrate entirely. Old bedding can lose its nutritional value over time.
ヒント: Regularly monitor your farm’s temperature and humidity with a thermometer and hygrometer. Small adjustments can make a big difference in your mealworms’ health.
Raising mealworms for bird feeding is a simple and rewarding hobby. It benefits both you and your feathered friends. Here’s a quick recap of why mealworm farming is worth trying:
- Mealworms are not worms but the larval stage of beetles, making them easy to raise.
- They grow quickly, require little effort, and birds love them.
- Feeding mealworms to birds is safe and provides a nutritious treat.
| メリット | コンテンツ |
|---|---|
| Nutritional Value | Mealworms are a great food source for wild birds, especially during breeding seasons. |
| Ease of Rearing | They can be raised in large quantities with minimal effort. |
| Safety for Birds | Live mealworms are safe and highly preferred by birds. |
Starting your own mealworm farm is also a step toward sustainability. It reduces waste, helps the environment, and supports the green revolution. Plus, it’s fun to watch your farm grow!
ヒント: Keep your farm at 77-80°F with 65-70% humidity for the best results.
So, why wait? Set up your mealworm farm today and enjoy the satisfaction of helping your backyard birds thrive! 🐦
よくある質問
How many mealworms should I start with?
Starting with 500-1,000 mealworms is ideal. This number ensures a steady supply while allowing you to learn the basics of mealworm farming.
Can I raise mealworms outdoors?
It’s possible, but not recommended. Outdoor conditions can fluctuate, making it harder to control temperature and humidity. Indoors offers a more stable environment for your farm.
Are mealworms safe for all bird species?
Yes, most birds can eat mealworms. However, offer them as a treat, not a primary food source, to maintain a balanced diet for your feathered friends.
ヒント: Always monitor how much your birds consume to avoid overfeeding.


